


This week’s edition is a little late, but this (delicious) recipe was taking a while to develop and shoot. I’m trying to get on a more consistent schedule, I promise! Let’s just get right into it this week so you can get your hands on this recipe and other newsletter payload.
EGO Recommends
💌 Newsletter: Tasting Notes by Erika Kwee
Long before I started easygayoven, my first stop on any baking project was usually navigating to thepancakeprincess.com. Erika has spent years building up a huge index of recipe tests and rankings, finding “the best” everything from coconut cake to butter mochi. I have found some of my most tried and true recipes from her tests and I was delighted when, about a year ago, she moved to NYC and we morphed from internet friends to IRL friends.
She started her newsletter at the beginning of this year, and she’s doing it all from restaurant and bakery reviews and rec’s to, of course, deep dives on her famous bake-offs. Not to put another baking newsletter on your list, but definitely check it out.


👩🍳 Recipe: Chicken Caesar Pasta Salad
I recently scrolled upon a short-form social video where someone was making chicken caesar pasta salad and I think it’s my new hyper-fixation meal. I riffed on a dressing recipe from this blogger and used 8 ounces of weird bean pasta a brand sent me (it just tasted like whole wheat pasta). I cubed two chicken breasts from a rotisserie chicken, toasted some sliced up pita for croutons, and mixed everything together with one head of chopped romaine, the dressing, and some parm shavings. I had it for dinner last night and then to make it a little lighter for lunch I chopped up another head of romaine, dressed that with some olive oil and lemon juice, and put a heap of pasta salad on top of that.
Updates

easygayoven x Food52
If you follow me on instagram, you may have already see this announcement. But earlier this year, I was asked if I would be a guest on an episode of Food52’s Youtube series “The Secret Sauce” and of course it was the easiest “yes” of my life. First of all, I’ve been scrolling Food52 since high school, and secondly, the show is hosted by my friend Dan Pelosi, of GrossyPelosi fame. Dan has been such a wonderful advocate for me (and other foodies starting out in the industry!) and we had a lot of fun in my kitchen making my mom’s recipe for baklava and carrying on with banter that absolutely had to be cut lest they get demonetized.


Despite having grown up around folks who love to cook and bake — and eat — I’ve always been slightly envious of the people who inherit a trove of family recipes. This baklava, which my mom made my whole life (and most of her life!) might be the only culinary heirloom that has officially been written down and passed on to me. Note to everyone: Get your family members to write down their recipes for you!

My mother’s father’s family is from Lebanon, one country where baklava (or baklawa) is a traditional pastry made of paper thin sheets of phyllo layered with sugary, spiced nuts and absolutely drowned in syrup or honey. When she was a teen, she wanted to surprise her father’s family with a homemade batch, so she tracked down a recipe and baked it — to raves! Her father received one every year on his birthday, as well as her aunt every Christmas. Nearly 50 years since she found the original in a magazine, this recipe has been changed, embellished, and rarely written down. And I almost feel guilty to say even I have made some minor tweaks — but isn’t that how all family recipes work?


Because I’m a self-saboteur, I decided that prepping, baking a second baklava as a swap for filming, deep-cleaning and completely decluttering wasn’t enough (there were going to be powerful cameras zooming, panning, etc!) I also scheduled a paint crew to paint the kitchen *the day before* the shoot. Reader, they almost didn’t finish. I think it was worth it because the kitchen has never looked better!
I had never done something like this before but it was an awesome experience and what can I say I like baking on camera. Please go watch it and make the recipe!


Everything Bagel Puffs are up on easygayoven.com
As will be the case with all free recipes, newsletter subscribers got early access to this recipe and I put it up on the website about five days later. I’m telling you about it here in case you prefer to use the recipe card on the site or you like to print it out (which there’s a button for right at the top.)
This Week’s Recipe
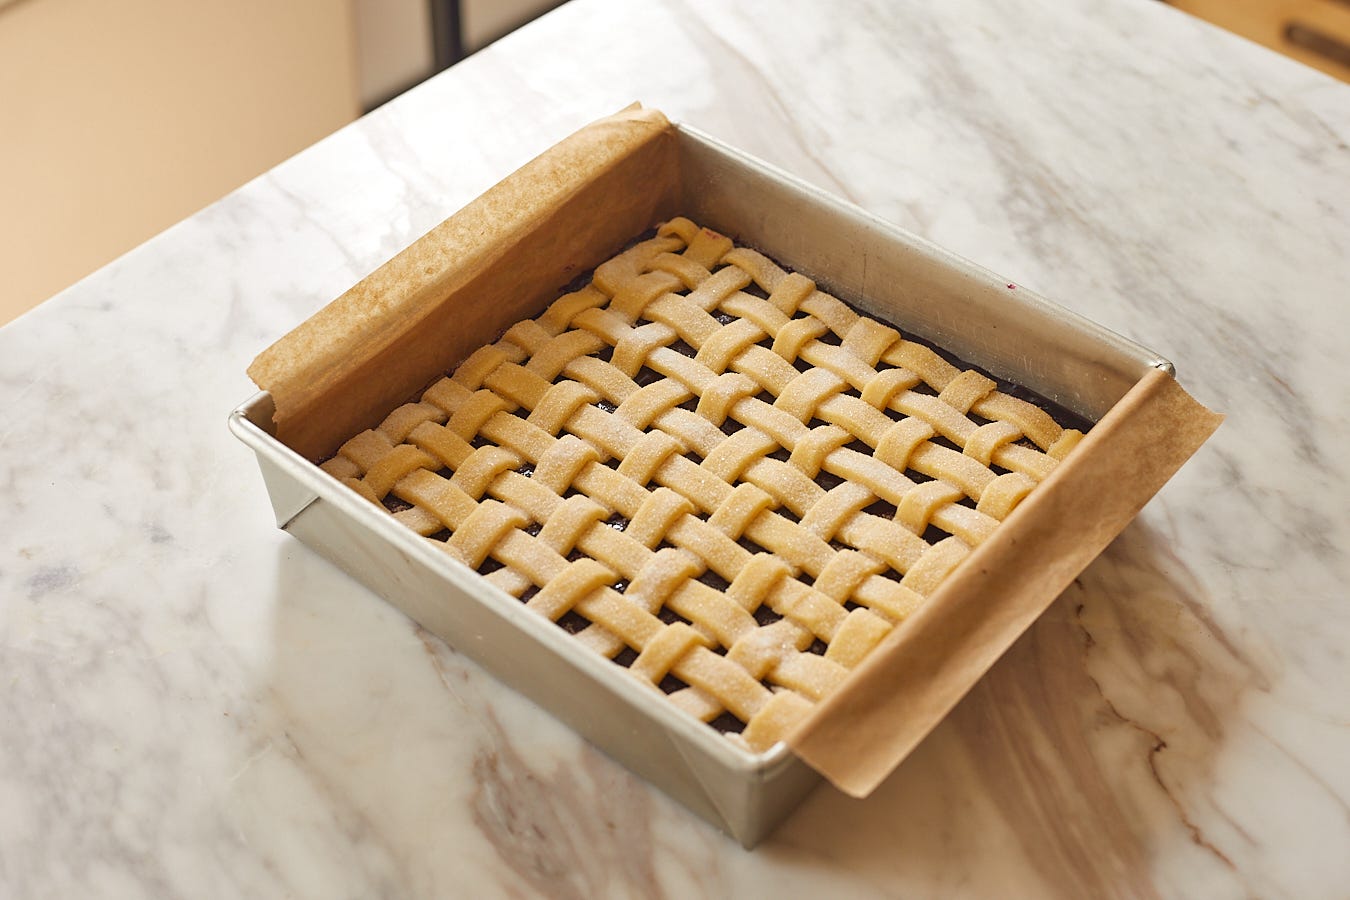
I started with the idea of blueberry bars with a cornmeal crust and topping but I *really* wanted to do a lattice top because I care about things like that. The cornmeal made the dough a bad candidate for the rolling, cutting and manhandling that lattice requires so that ingredient left the chat.
This dough is pretty close to my sugar cookie dough, but with a little lemon zest. And it comes together in the food processor, stand mixer on a large bowl with a hand mixer. Because I wanted to keep the bottom crust more slack so you could spread it into the tin, I have a little trick: mix the dough, then spread half of it into the tin, then add another 1/4-cup all-purpose flour into the remaining dough. This makes the resulting dough more firm, and way easier to handle and weave in a lattice.
The lattice weaving technique can be intimidating (and maybe a little tedious). I get it. So if you don’t want to do it, you can always just roll out the dough to 1/4-inch or 1/6-inch thickness and cut shapes out like stars, hearts, and scatter them over the top. Or, you could roll out a 9x9-inch square, about the same thickness, and cut shapes out of that, freeze it, then transfer it to the tin to be top of the bars.

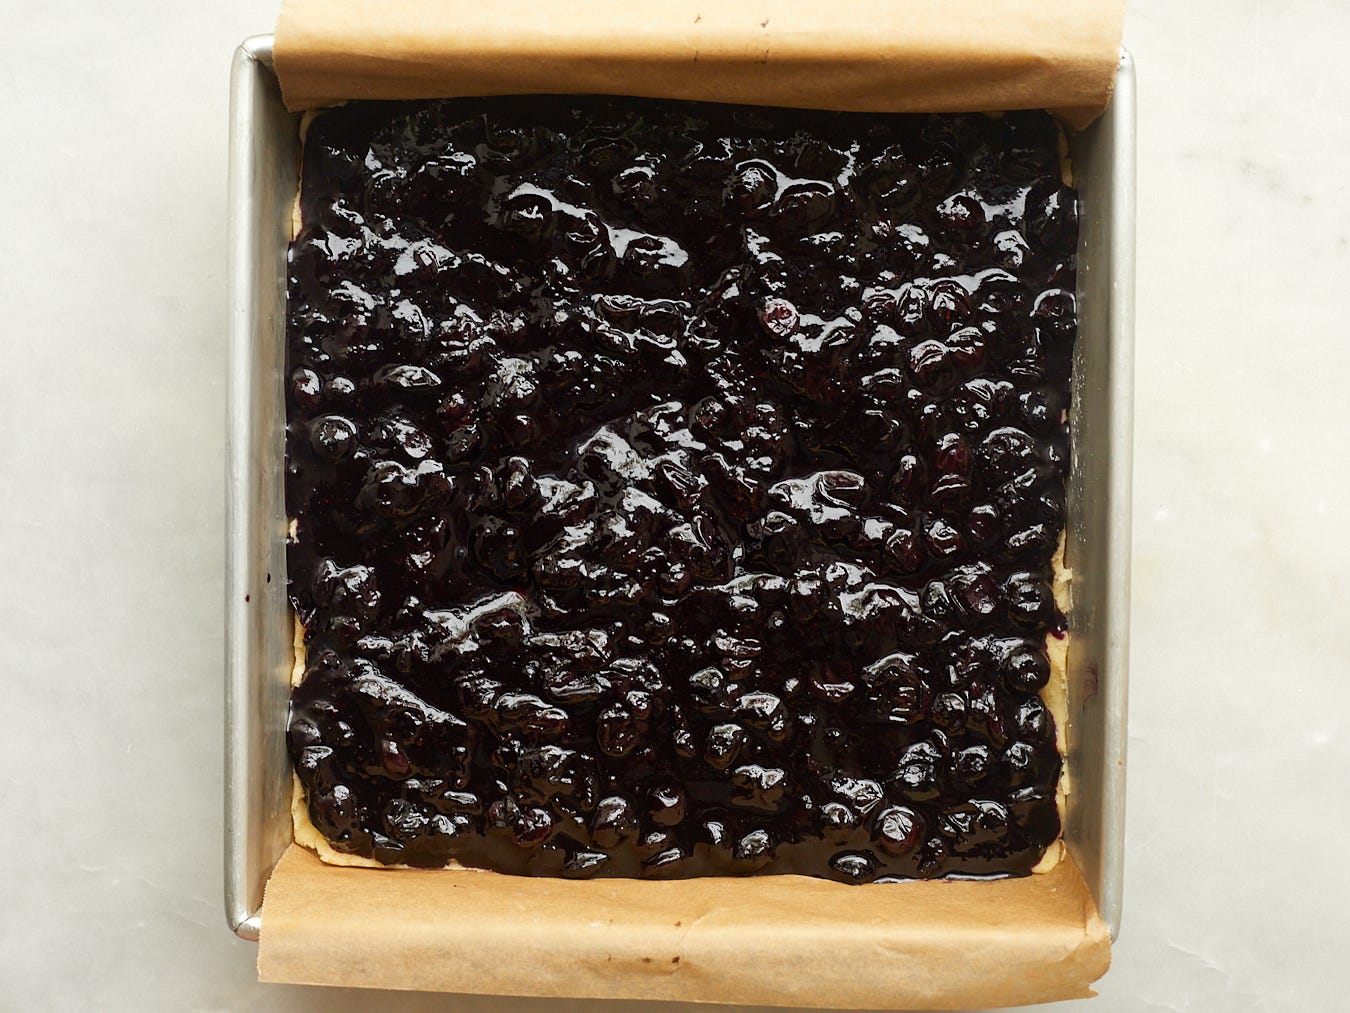
Cook your blueberry filling more than you think you need to. I have found that, if you don’t reduce the berries enough and cook out enough of the water out beforehand, as the bars bake, the blueberries can re-hydrate the filling, making it difficult to cut.


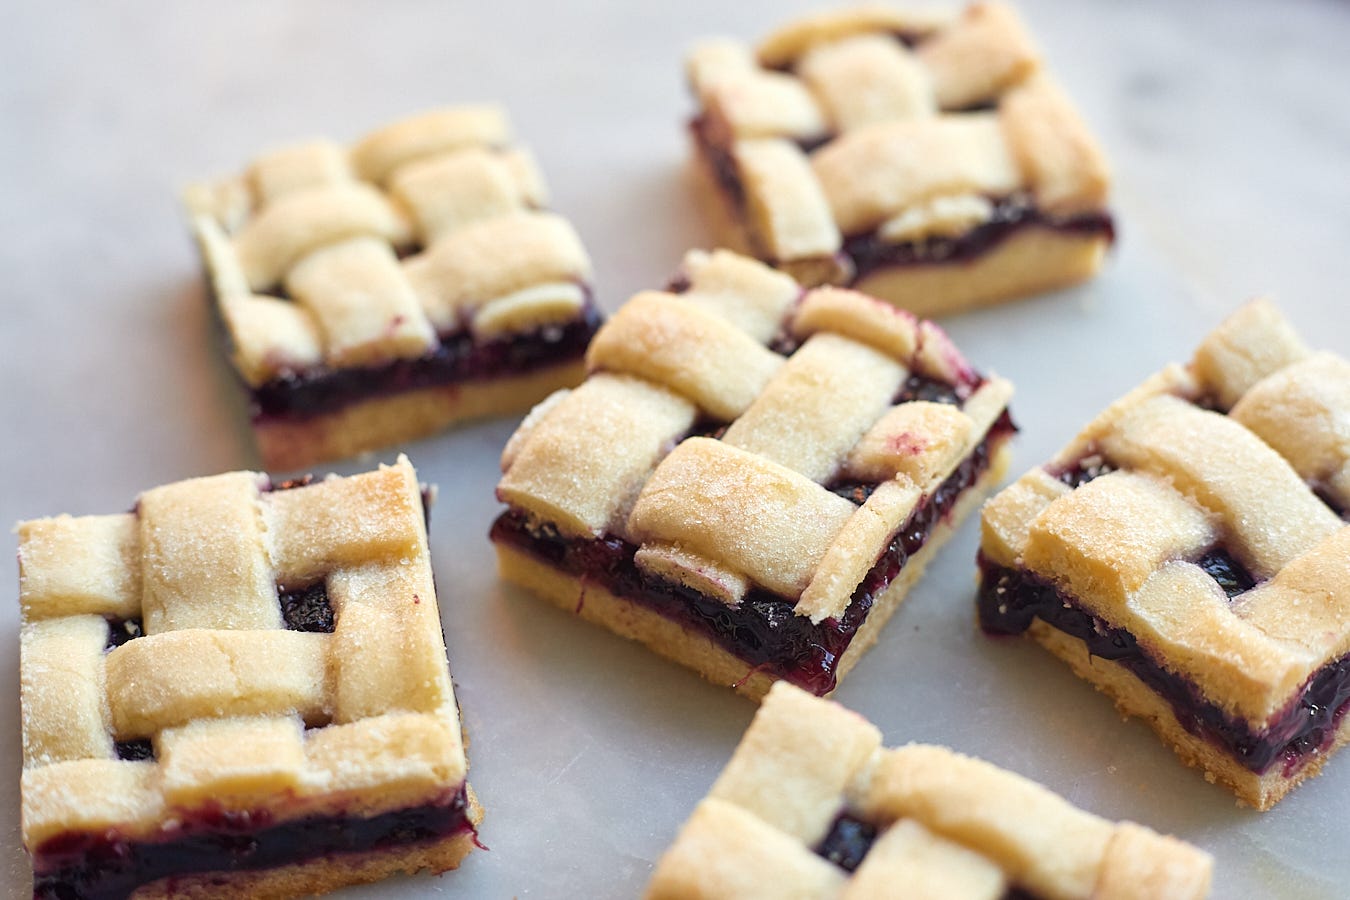
For super clean cut lines, I recommend chilling your bars for a couple of hours after they cool, even freezing them helps a lot.
Because I want you to WIN! I’m including this video of me weaving the lattice. I accidentally did 11 vertical strips instead of 10 and had to cut that part off later so it could fit in the tin.
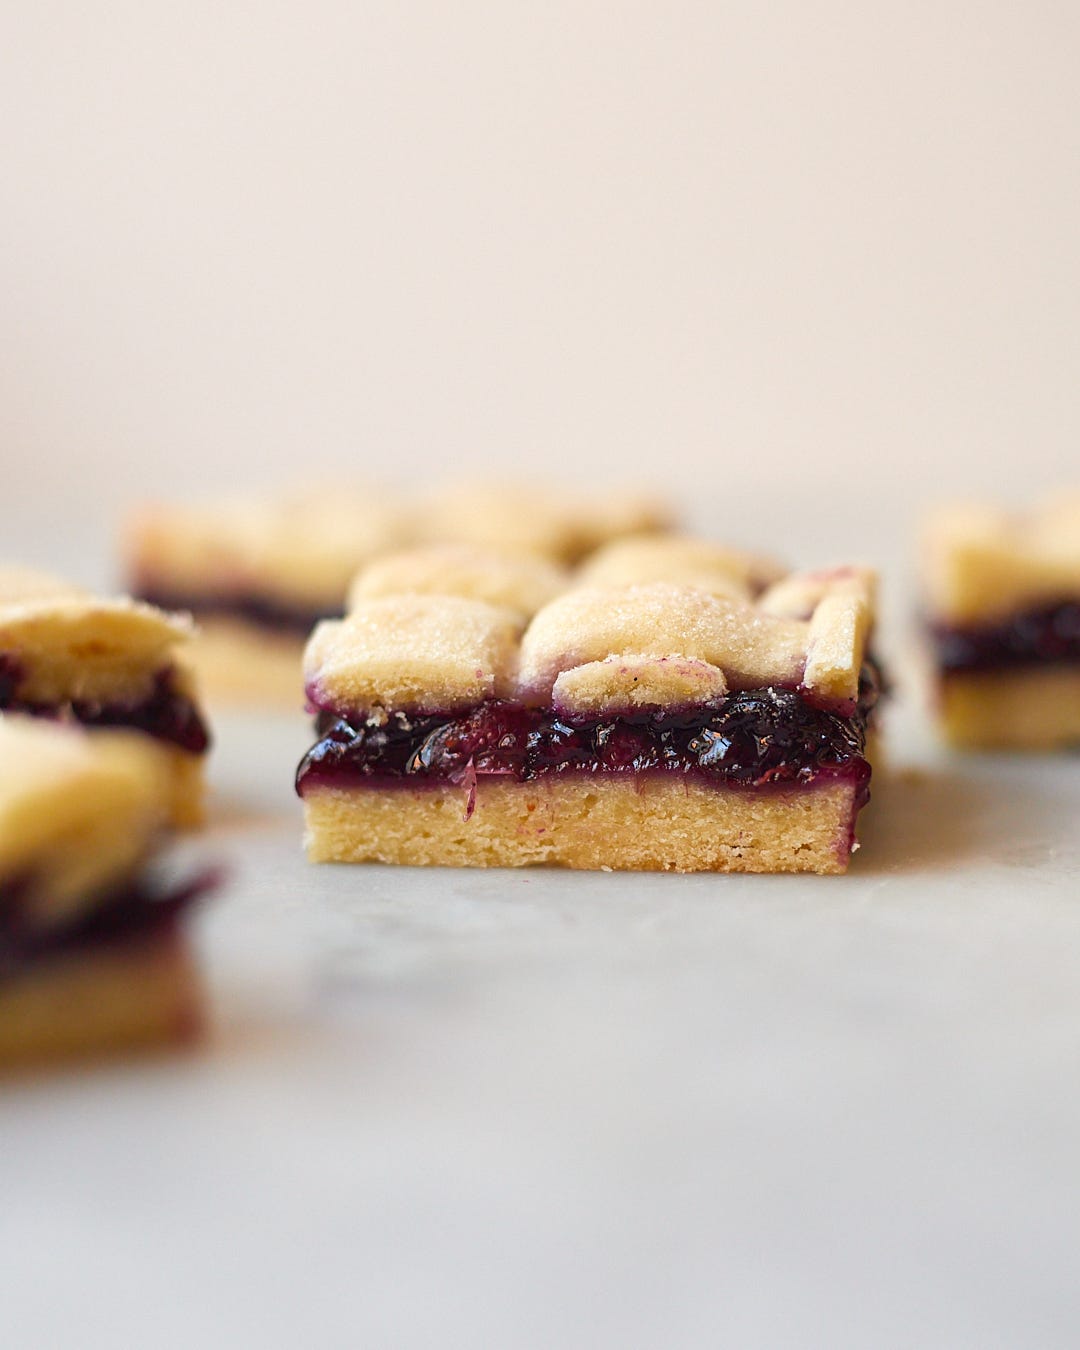
Blueberry Pie Bars
Makes about 16 two-inch squares
Ingredients
Base and top crust dough
1 cup unsalted butter, at room temperature (cut into tablespoon-size pieces) (226 grams)
1 1/2 cup powdered sugar (195 grams)
Zest of two lemons
1 large egg
1 teaspoon vanilla extract
2 1/2 cups all-purpose flour (325 grams)(separated)
3/4 teaspoon kosher salt
Blueberry filling
1 pound fresh blueberries (16 ounces)
Zest of one orange
Juice of half an orange
2 teaspoons vanilla extract (or the seeds from half a vanilla bean)
2/3 cup granulated sugar (142 grams)
Hefty pinch kosher salt
2 tablespoons corn starch mixed with 1 tablespoon water
Directions
Prepare the filling. In a medium saucepan, combine the berries, juice, zest, vanilla, sugar and salt. Cook over medium-low heat, covered until the berries are soft and begin to burst. Crush as many berries as you can with the back of a wooden spoon or a rubber spatula.
Continue cooking, stirring often, until the berries have broken down completely and you’re left with a sauce-y, thickened mixture. Stir in the corn starch-water mixture and let the berry filling come to a boil.
Cook until the mixture has thickened more and a spoon leaves a trail on the bottom of the pan that lasts for a second or two. Remove from heat and set aside to cool.
Prepare a 9x9-inch tin by greasing it with butter and lining it with parchment paper. Set aside.
Make the crust and topping. In a food processor, stand mixer fitted with the paddle attachment, or in a large bowl with a hand mixer, beat the butter, sugar and lemon zest until smooth and creamy.
Beat in the egg and vanilla. The mixture may curdle slightly — that’s okay. Beat in the salt and *only 2 1/4 cup* of the flour just until the last streaks of flour disappear. Spread half of the dough into the bottom of the tin in one even layer.
Add the remaining 1/4-cup of flour to the other half of the dough and fold in just until combined. Roll out the dough between two sheets of parchment paper into a rectangle that measures about 9x13 inches. Chill the dough in the fridge or freezer until it is completely firm.
If at any point the dough becomes too warm and slack, just stick it back in the fridge or freezer on a flat surface. It’s much better to be patient than try to fight loose dough. Cut the dough into about 24 strips, or as many as you can, each a half-inch thick and at least 9 inches long. (You want to have extra in case of breakage.)
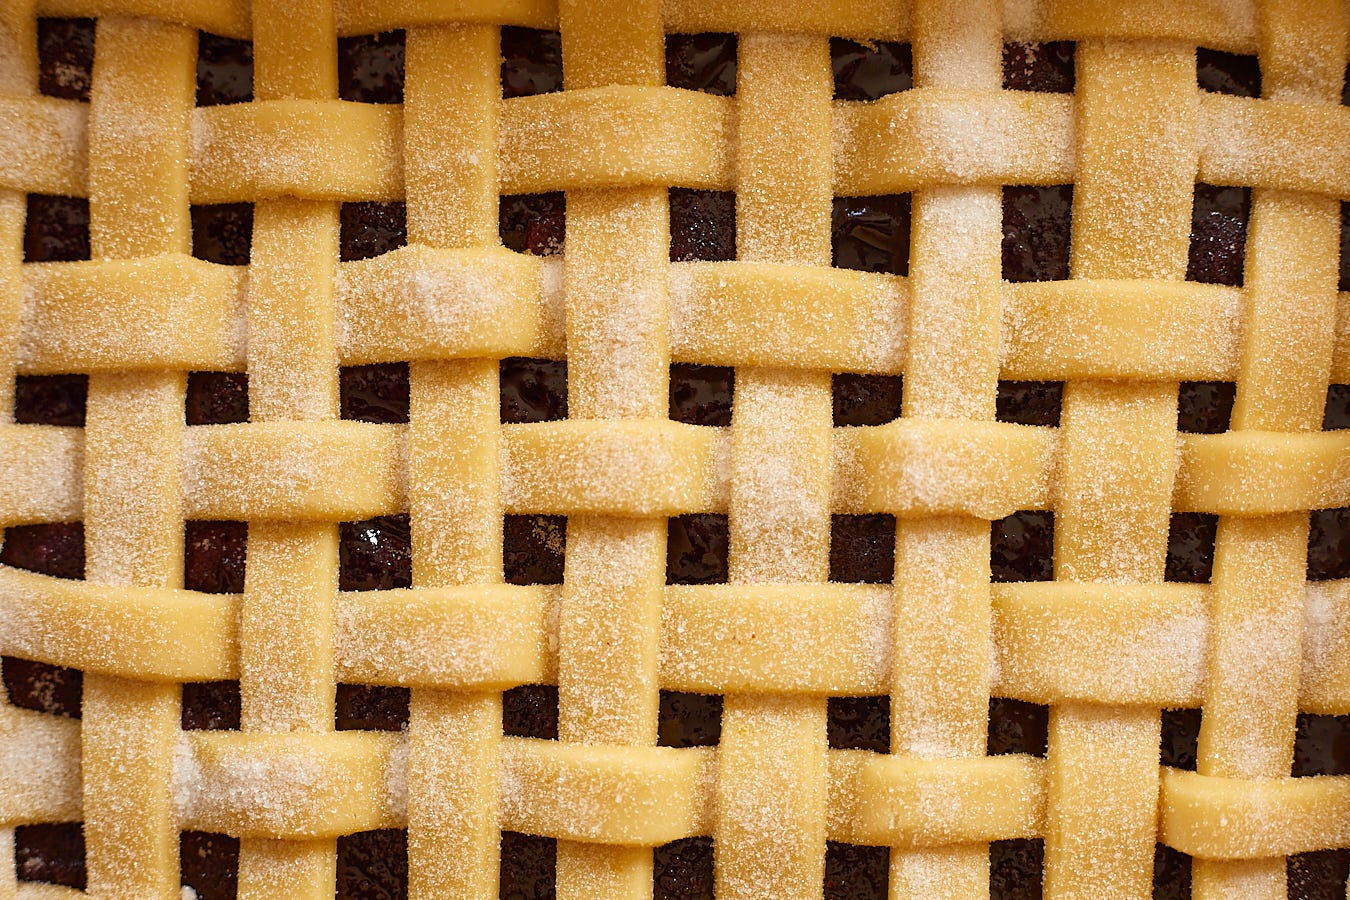
On a sheet of parchment or a silicone mat, arrange 10 strips, evenly spaced apart, in a vertical lines so that they are 9 inches from end to end.
Starting from left to right, fold the first strip up halfway, then do the same for the third, fifth, seventh and ninth. Lay dow a strip of dough horizontally, right where the fold is, then bring the strips you had folded up down again over top of the horizontal strip.
Now fold up vertical strips 2, 4, 6, 8 and 10. Repeat the same step as above with another new strip going horizontally, and the fold the vertical strips down again.
Repeat these steps with three more horizontal strips, alternating folding up every other vertical strip, to complete the bottom half.
Turn the unfinished top half of the lattice to face you and repeat the weaving pattern on that side with five more horizontal strips. Transfer the lattice to the freezer until completely firm.
Preheat oven to 400°F. Spread the blueberry filling evenly onto the dough in the tin. Then delicately place the lattice top on top of the filling. You may have to trim it to fit snugly in the tin. Transfer to the freezer once more to completely firm up before baking.
Bake on the middle rack at 400°F for 10 minutes, then turn the oven down to 350°F and bake for another 30 minutes. The filling should be bubbling on the sides and under the crust, and the lattice should be starting to lightly brown on the high points.
Allow the bars to cool completely in their tin. For clean slices, chill the bars in the fridge for a couple hours, or for pristine slices, stick them in the freezer. Use a long, sharp, serrated knife to delicately score through the tops then press through to the bottom.
Notes:
You can spread out the hot filling on a rimmed sheet tray or other shallow dish to speed up cooling.
If any part of the top gets too brown during baking, tent the bars with some aluminum foil until done.
You don’t have to make a lattice crust for the top. See above in the description for my other suggestions.
Fabulous lattice!