


Blood Orange Mini Tarts


Hey y’all — we’re just going to to get right to the meat ‘n’ potatoes of the newsletter today because I’m feeling a little under the weather but I want to get you this recipe while we’re still in blood orange season.
EGO Recommends
Newsletter 💌 : The Purse on Substack
Writer Lindsey Stanberry has started new series on her Substack called “Home Economics” which deep-dives into an individual or family’s finances — and does so pretty thoroughly. The first installment, about a young Brooklyn family living on a $466K joint income, was a fascinating display of lifestyle creep; how, especially in New York, even for rich people, it still feels like they’re burning through money and can’t save (which, of course isn’t true). (By the way, the comments are *wild*.) I love the idea behind the series because it’s drilled into us from an early age to not talk about money, which actually just makes inequality worse. Plus, I’m really nosy! The other posts on her account such as “Struggling to Make Ends Meet on $180k Because You're Spending $80k on Childcare” are great, too.
This Week’s Recipe
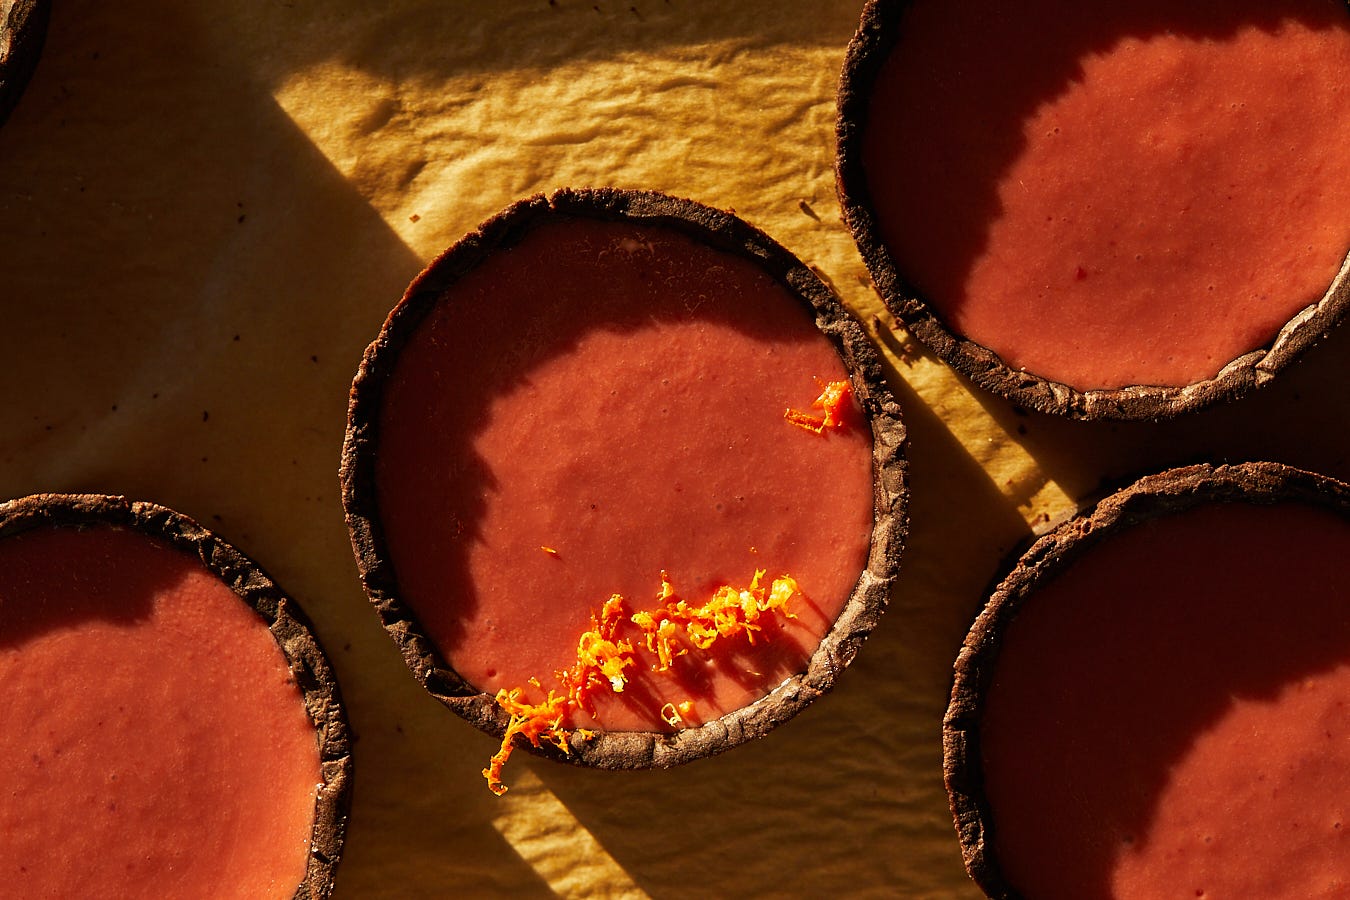
I bought these little pastry ring moulds years ago, like, 5 years ago, and I have never once used them — until now! I really wanted to publish a recipe that allows winter’s favorite fruit, the blood orange, to shine. With some of the oils pulled from the zest, plus the addition of lemon juice (blood oranges aren’t as acidic so lemon juice helps with zing-iness and also setting the filling) you get a sweet, dreamy filling with blood orange flavor that’s not as tart as a lemon or lime filling would be. A drop of red or pink food coloring can help take the color up a notch if necessary, because some bags of blood oranges have a deeper juice color than others.


Of course in other parts of the world pairing chocolate and orange together is common, but in the United States, it just doesn’t seem to be as popular. Well I want to change that! So instead of doing a vanilla pastry casing, I went to the other end of the spectrum and chose the addition of cocoa, black cocoa, which is why they’re so dark and dramatic. Black cocoa is basically Dutch-process cocoa that has been extra alkalized, reducing its acidity and altering its flavor. It’s rich and a bit smokey almost? But if you don’t want to make a trip to a specialty store, a good substitute would be Dutch-process cocoa. You can use natural cocoa in a pinch, it just won’t produce dark pastry shells or have the same flavor.

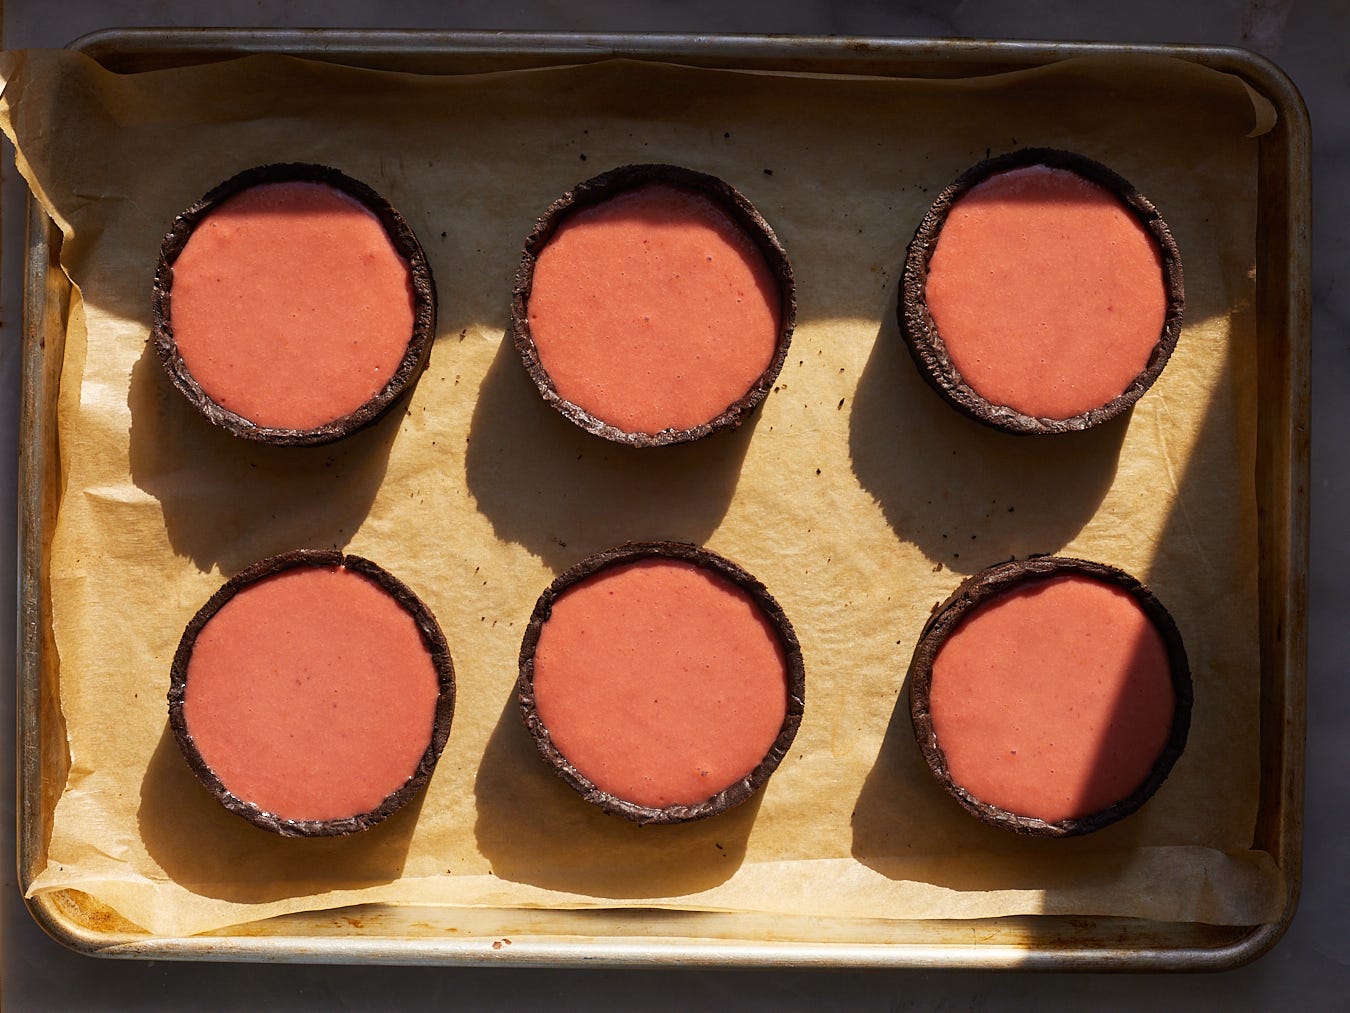
You can use pastry ring moulds like these or little tartlet pans with a removable bottom. This recipe makes six mini tarts, but if you don’t have the bakeware for that, you could also make it into a big 9 or 10 inch tart, you just might have some leftover filling and dough. I’ll give directions in the notes for that.
I was very indecisive on how I should finish, garnish and present these. I loved being able to see the blood orange (literally) color against the black cocoa shells. And I’m a firm believer in the principal that decoration of baked goods should give hints as to what flavors are inside, so leaving them plain with just a smattering of extra blood orange zest was very simple and elegant to me.


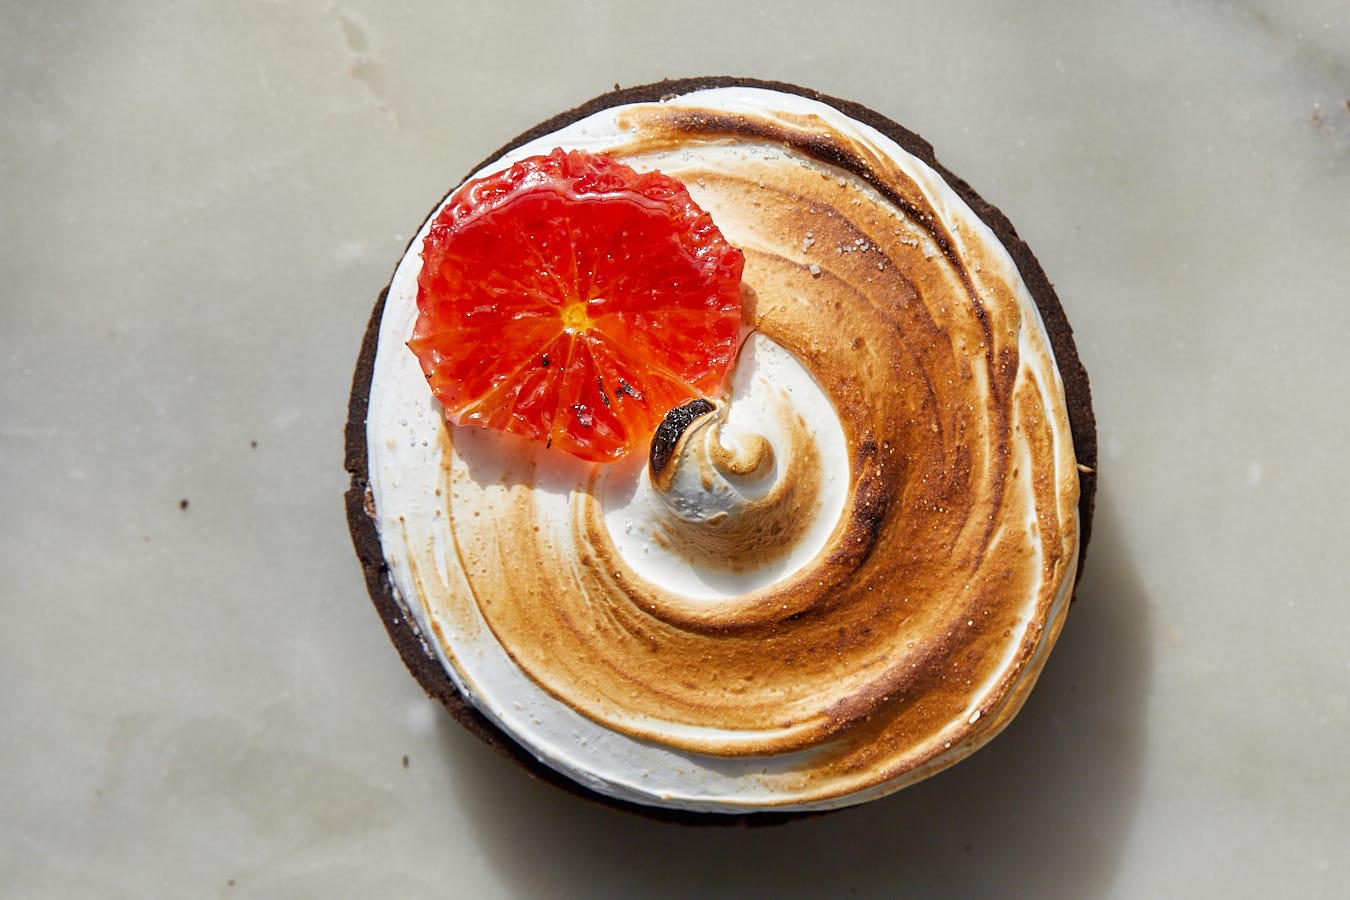
One step above that in terms of effort is turning the whole situation into a crème brûlée gig (???). I sprinkled an even layer of granulated sugar over the surface of the baked and cooled tart and blasted it with my blowtorch until it the sugar started turning deep amber and letting off wisps of smoke.
But since the filling uses more egg yolks than egg whites, I wanted to do what I usually try to do (and what I think all recipes should try to do!) and give a way to use up those whites. So, I’m also presenting the option to make a swirly meringue to pipe or spread on top. You can also toast the meringue with your blowtorch (every kitchen should have one! I’m only sort of joking!) and/or give the brûlée treatment to any orange slice garnish.
No matter which finish you choose, you can make this recipe in stages to break up the work. Preparing and rolling out the tart dough ahead of time, and even baking the shells and keeping them covered at room temperature until you’re ready to fill them, works great. You can also bake the tarts all the way, allow their fillings to cool, then cover and refrigerate overnight. (I find that placing them on a baking sheet and then covering with another overturned baking sheet is a great way to protect their smooth surfaces.) Then, finish them with their toppings (although none are required at all) right before serving.
Blood Orange Mini Tarts
Makes six mini tarts (see note for making one 9 or 10-inch tart)
Ingredients
Keep reading with a 7-day free trial
Subscribe to easygayoven to keep reading this post and get 7 days of free access to the full post archives.